September 11, 2024
Our entire journey with Retool began with custom components
One of the main reasons we invested in Retool is the custom component feature. It’s a powerful possibility for addressing platform limitations, ensuring that there's always a way to solve a problem.
Indeed, our entire journey with Retool began with custom components, it was the very first thing we explored. Many platforms offer plugin or extension capabilities, and Retool is no different, but with a better approach.
It currently provides two ways to create custom components, but here we’ll focus on the first and more traditional approach, now known as the legacy method.
To be honest, it’s not yet time to retire the legacy method. There are still situations where this is the only way to achieve certain features, like making a component public for use across Retool accounts.
Moreover, the legacy version remains the quickest way to build a component. When compared to other platforms that offer similar integration capabilities, the Retool approach is possibly the fastest route to getting a plugin up and running.
You simply drag and drop the custom component element onto your canvas and insert the required HTML/JS code to communicate with Retool:
No local setup, no deployment or build-time hassle, your component is live.
It’s that simple.
Despite its simplicity, you can build highly complex components with this method. We’ve done it before: from integrating a complex chart library to creating a Speech-to-Text component for Retool.
In our case, we developed a small build toolchain to streamline component distribution, allowing us to insert a <script> tag into the IFrame area of the custom component.
There are many situations where custom code makes sense, even if you're using platforms like Retool, which aim to eliminate the need for custom development.
Custom components can help in specific scenarios, such as creating tailored charts and graphs, building unique function tools, or optimizing portions of an internal system to streamline processes or simplify operations. While Retool provides flexibility, you might find that writing custom component might be essential to meet particular business needs or workflows that aren't natively supported.
You might wonder, though: doesn’t this contradict the whole point of using a tool like Retool, which is supposed to remove the burden of maintaining code? The answer depends on the trade-offs. It’s a balance between what your team needs, the time and budget available, and the long-term value of customization.
Even though maintaining custom code does add complexity, it may offer critical optimizations that can deliver a significant return on investment by enhancing workflows or providing unique functionality that off-the-shelf platforms can't replicate.
Let’s dive into a very basic example—a slider that controls the content of the custom component.
Retool’s documentation provides more details, but here’s a minimal, vanilla JavaScript example to get started. The experience is ridiculously simple:
IFrame Code textarea:<html>
<script>
window.Retool.subscribe((model) => {
if(!model) return
document.querySelector("h1").innerHTML = model.value || ''
})
</script>
<h1></h1>
</html>
Model textarea:{
"value": "{ { slider1.value } }"
}
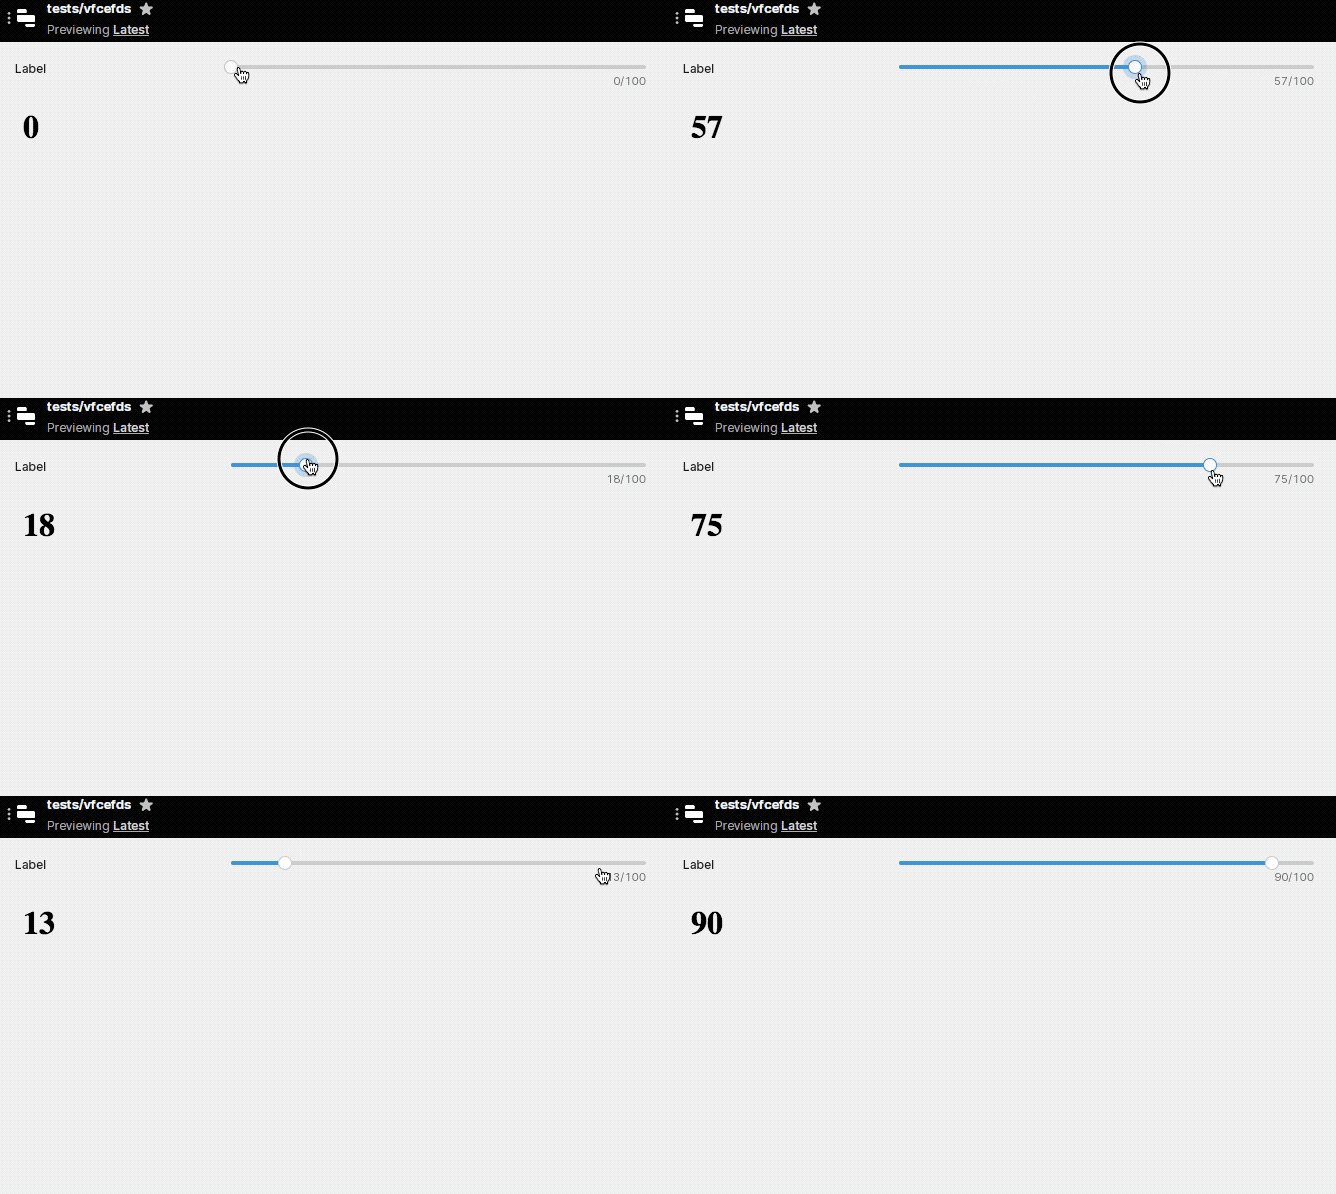
The result is straightforward:

As the slider’s internal value changes, it updates the custom component’s model, which re-renders the h1 element. This synchronization between the component's model and the data source allows you to build anything more complex by layering similar principles.
The above example should give a glimpse of how easy it is to create a custom component for Retool.